The Instagram Story aspect ratio is 9:16, a tall vertical frame, and the ideal size is 1080 × 1920 pixels. That applies to both photos and videos. Anything that isn't 9:16 gets shown with blank space above and below it, and a file smaller than 1080 × 1920 can look soft or blurry once it's posted.
If you have the right file, you're done. If not, make a new tall image with FreeGen, a free text-to-image generator with a 9:16 aspect ratio option, no signup, and results typically in under ten seconds. Or crop a photo you have, or place it on a tall canvas.
Below is the full spec table, the safe zone converted to pixels, how to get any photo into 9:16, and how to stop a correctly sized Story from looking soft after upload.
Every Instagram Story spec in one table
Stories use one shape for everything: 9:16 at 1080 × 1920, the same aspect ratio Instagram uses for its other vertical videos, including Reels. The rest of the numbers are about file types, file sizes and how long things stay on screen.
| Spec | Value |
|---|---|
| Aspect ratio | 9:16 (photos and videos) |
| Resolution | 1080 × 1920 pixels |
| Image file types | JPG, PNG |
| Maximum image size | 30 MB |
| Video file types | MP4, MOV (Shopify's table also lists GIF) |
| Maximum video size | 4 GB |
| Recommended video settings | H.264 compression, square pixels, fixed frame rate, progressive scan, stereo AAC audio at 128 kbps or higher |
| Video length per clip | 60 seconds; longer videos are split into back-to-back Story clips |
| Photo display time | About 7 seconds |
| Video shared from the Feed or another app | 15-second preview |
File types, size limits and video settings as Shopify's Story size guide lists them; clip length, display time and the shared-video preview as Kapwing reported in March 2026.
One detail matters if you sell things: product tags work on image Stories only, not video, according to Shopify's guide. A shoppable Story should be a 1080 × 1920 image.
15 seconds or 60 seconds?
The current figure is 60 seconds per clip. You'll still find pages quoting 15 seconds, because that was the limit before Instagram raised it to a minute, as Kapwing reported in March 2026. wikiHow's guide, updated in July 2026, also gives up to a minute per Story. If you upload something longer, Instagram cuts it into 60-second pieces that play one after another.
The 15-second number does still apply in one case: when you share a video to your Story from the Feed or from another app, it plays as a 15-second preview. So plan clips of up to a minute when you record or upload directly, and expect a short preview when you reshare.
The safe zone, in pixels
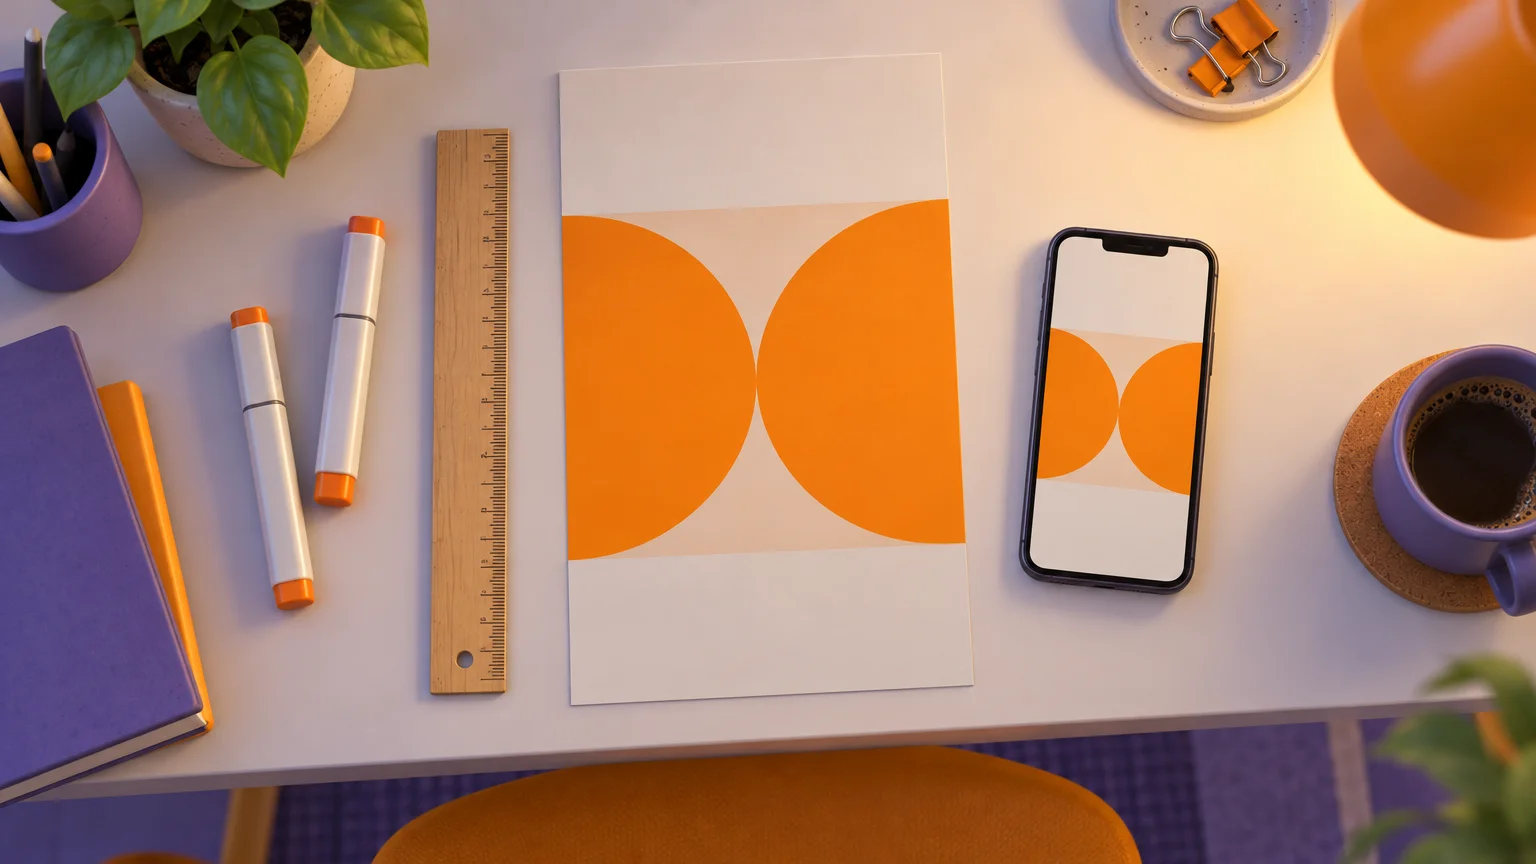
The safe zone is the middle part of a Story that Instagram's own interface doesn't cover. The profile name sits at the top, and the reply bar sits at the bottom. The usual guidance is to keep roughly the top 14% and bottom 20% clear of text, logos, calls to action, links and product stickers.
Percentages are awkward when you're placing text, so here is the same rule on a 1080 × 1920 canvas:
| Area | Percentage | Pixels on 1080 × 1920 |
|---|---|---|
| Top margin to keep clear | 14% | about 269 px |
| Bottom margin to keep clear | 20% | 384 px |
| Usable middle band | 66% | about 1,267 px tall, from roughly 269 px to 1,536 px down |
Percentages as Shopify's guide gives them; pixel figures are worked out from 1920.
Two things to know before you treat those numbers as fixed.
First, the 20% bottom figure comes from Meta's link sticker help page and covers the call-to-action sticker alone, not the whole interface, as Adsuploader reported in July 2026. For Story and Reels ads, the same report recommends a bottom clearance of 35%, which is 672 px, and says Meta's Safe Zone Guardrail draws 14% top, 35% bottom and 5.9% on each side. On a 1080-wide canvas, 5.9% is about 64 px per side. If your Story is an ad, use those larger margins.
Second, a test published by Pixel Impeccable, updated in September 2026, advises keeping critical text out of the top 250 px and bottom 270 px, which leaves a usable band of roughly the center 1,400 px. That's a little more generous than the percentage rule. The cautious approach: put your headline and any sticker inside the 1,267 px band, and let background, sky or texture fill the edges.
Phones taller than 9:16 add one more wrinkle. On those screens, Meta either zooms the creative to fill the screen or shows it against black bars, and you don't get to choose, per the same Adsuploader report. Anything near the edges is the first thing to go, which is another reason to keep important things central.
Getting a photo into 9:16
If your picture isn't already tall, you have to change its shape before it fills the screen. A 4:5 or 1:1 photo is shown with blank space above and below. A 16:9 landscape photo can't fill the frame without heavy cropping. The fix depends on where the photo starts.
Shoot or upload in the app
The easiest route is to create the Story inside the Instagram app, which gives you the correct size automatically. Tap "+" in the top-left corner of your home or profile page, then tap the white button to take a photo or hold it down to record video. Shoot with the phone held upright.
To post something from your camera roll, Instagram needs access to your photos. If it doesn't have it, tap "Enable photos access" to open your phone's photo settings, then choose all photos or selected ones. Back in Instagram, tap the photo or video you want. If it doesn't fill the frame, pinch to zoom until it does, knowing that zooming crops the edges off.
Crop, frame or remake a photo that isn't tall
For a 4:5, square or landscape photo, there are three ways to go.
Crop to the subject. Pick a 9:16 selection around the most important part of the picture. Even a 4:5 portrait loses a strip off the left and right, so the subject has to fit inside the narrower frame. On a 16:9 landscape, you lose most of the image, so check that what's left still makes sense.
Frame it on a canvas. Place the photo on a 1080 × 1920 canvas and fill the space above and below with a headline, a call to action or a solid brand colour. This keeps the whole photo, and the empty space becomes a place for text. Put that text inside the safe band from the table above.
Make a new tall version. If cropping or framing won't do, use the photo as a loose starting point for a new image. On FreeGen, upload it with the Image Prompt button as a reference image for image-to-image transformation, choose 9:16, and describe the tall scene you want. The result is a new image loosely based on your photo, not the original with more added around it, so details will change. It suits cases where the general look matters more than exact details, not where a particular face or label must stay exactly as it is.
The site's X header guide deals with fitting images to a different shape, and the same thinking applies here.
Posting from a computer
You can post Stories from a desktop through Meta Business Suite, but only with a professional or business account. Click "+" to see the create options and choose Story. You can upload up to 10 images and videos. Use Edit to crop, change the aspect ratio, add text or emoji, mention a profile or add a link. Then, under Schedule, choose Share Now, or choose Schedule and pick a date and time.
The desktop tools are more limited than the app, so this route suits Stories that are already edited to 1080 × 1920 and just need posting or scheduling.
Making a tall Story image from scratch with FreeGen
If you need a background for a quote, an announcement or a promo, and you don't have a photo to start from, you can generate one in the right shape. As of November 2026, FreeGen offers five aspect ratios, 1:1, 4:3, 3:4, 16:9 and 9:16, runs on the Z-Image Turbo model, and needs no account. Images you generate can be used for personal and commercial projects.
Here is the process:
- Open the generator and choose 9:16 before you type anything.
- Write a prompt that describes a tall scene, and say where the empty space goes.
- Generate. It typically takes under ten seconds. If the layout is wrong, change one part of the prompt and try again.
- Enlarge the result with the free AI Image Upscaler linked from the FreeGen homepage, then resize it to exactly 1080 × 1920 without stretching.
The key move is step 2. The top and bottom of a Story are covered by Instagram's interface, so ask for calm, plain areas there and put the interesting part in the middle. Some prompts to start from:
a tall vertical photo of a quiet coffee shop counter in morning light, plain pale wall across the top quarter, empty wooden countertop across the bottom third, one cup of coffee in the center
vertical illustration of a night sky over a small town, open dark blue sky filling the top half, rooftops and warm windows in the middle, smooth dark foreground at the bottom
tall flat-lay of a linen tablecloth with a few dried flowers in the center, lots of empty fabric above and below, soft natural light, muted colours
vertical gradient background in soft peach and lavender, a single glossy sphere floating in the middle, smooth and empty at the top and bottom
Leave text out of the prompt and add your words on top afterwards, inside the safe band, so you control where they sit. For more starting points, the site's copy-and-paste prompts include a section for posters, thumbnails and social posts.
A note on resolution: FreeGen states its output as 1024×768 pixels. However the pixels work out for a 9:16 image, the file will be smaller than 1080 × 1920, and that's why step 4 matters. Posting it straight from the generator gives you exactly the soft-Story problem covered next. Upscale first, then resize to 1080 × 1920.
Why Stories look blurry, and the fixes
A blurry Story usually means one of two things: the file is smaller than 1080 × 1920, or it was compressed before it reached Instagram. Both are fixable.
The file is too small. Below 1080 × 1920, images and videos can look blurry or low quality. Go back to the original and export it again at full resolution. In a test, Pixel Impeccable found that images narrower than 1080 px looked soft and pixelated on modern phone screens. For a generated image, that means upscaling before you post.
The file was compressed on the way. Messaging apps and email often shrink files when you send them to yourself. Move the file with AirDrop, a cloud drive or a cable instead. Uploading on a stable Wi-Fi connection can also help.
The file is too big. Bigger is not better here. Instagram re-compresses every image you upload, whatever its original quality, according to Pixel Impeccable's report updated in September 2026. In the same test, Stories uploaded wider than 1080 px, such as 1440 × 2560, were scaled down to 1080 px wide and compressed noticeably more, while files at exactly 1080 × 1920 came out cleanest. The same report observed that keeping an image under about 3.6 MB reduced how hard Instagram compressed it. That's an observed figure, not an official limit, but it's an easy thing to try if your Stories still look soft.
The practical rule: export at exactly 1080 × 1920, as a JPG or PNG, at a moderate file size, and transfer it to your phone without a messaging app in the middle.
Frequently Asked Questions
How long does a photo Story stay on screen?
About 7 seconds, as Kapwing reported in March 2026. If your Story has a lot of text, viewers may not finish reading it before it moves on, so keep the words short or split them across two Stories.
Are Story ads the same size as regular Stories?
The shape is the same, 9:16 at 1080 × 1920. The safe zone is larger at the bottom, though. For Story and Reels ads, Adsuploader reported in July 2026 a recommended bottom clearance of 35%, or 672 px, rather than 20%.
Can I tag products in a video Story?
No, according to Shopify's guide: product tagging works on image Stories only. If you want a shoppable Story, make it a 1080 × 1920 image and keep the product in the middle band, away from the reply bar.
Final Thoughts
The decision you're left with is where your tall image comes from. If you have a photo with the subject near the center, crop it. If the whole photo matters, frame it on a canvas and use the space for text. If you have nothing suitable, or a landscape shot that cropping would ruin, generate one at 9:16, then upscale and resize it to 1080 × 1920 before posting. To see what different prompts and ratios produce before writing your own, browse the FreeGen examples.